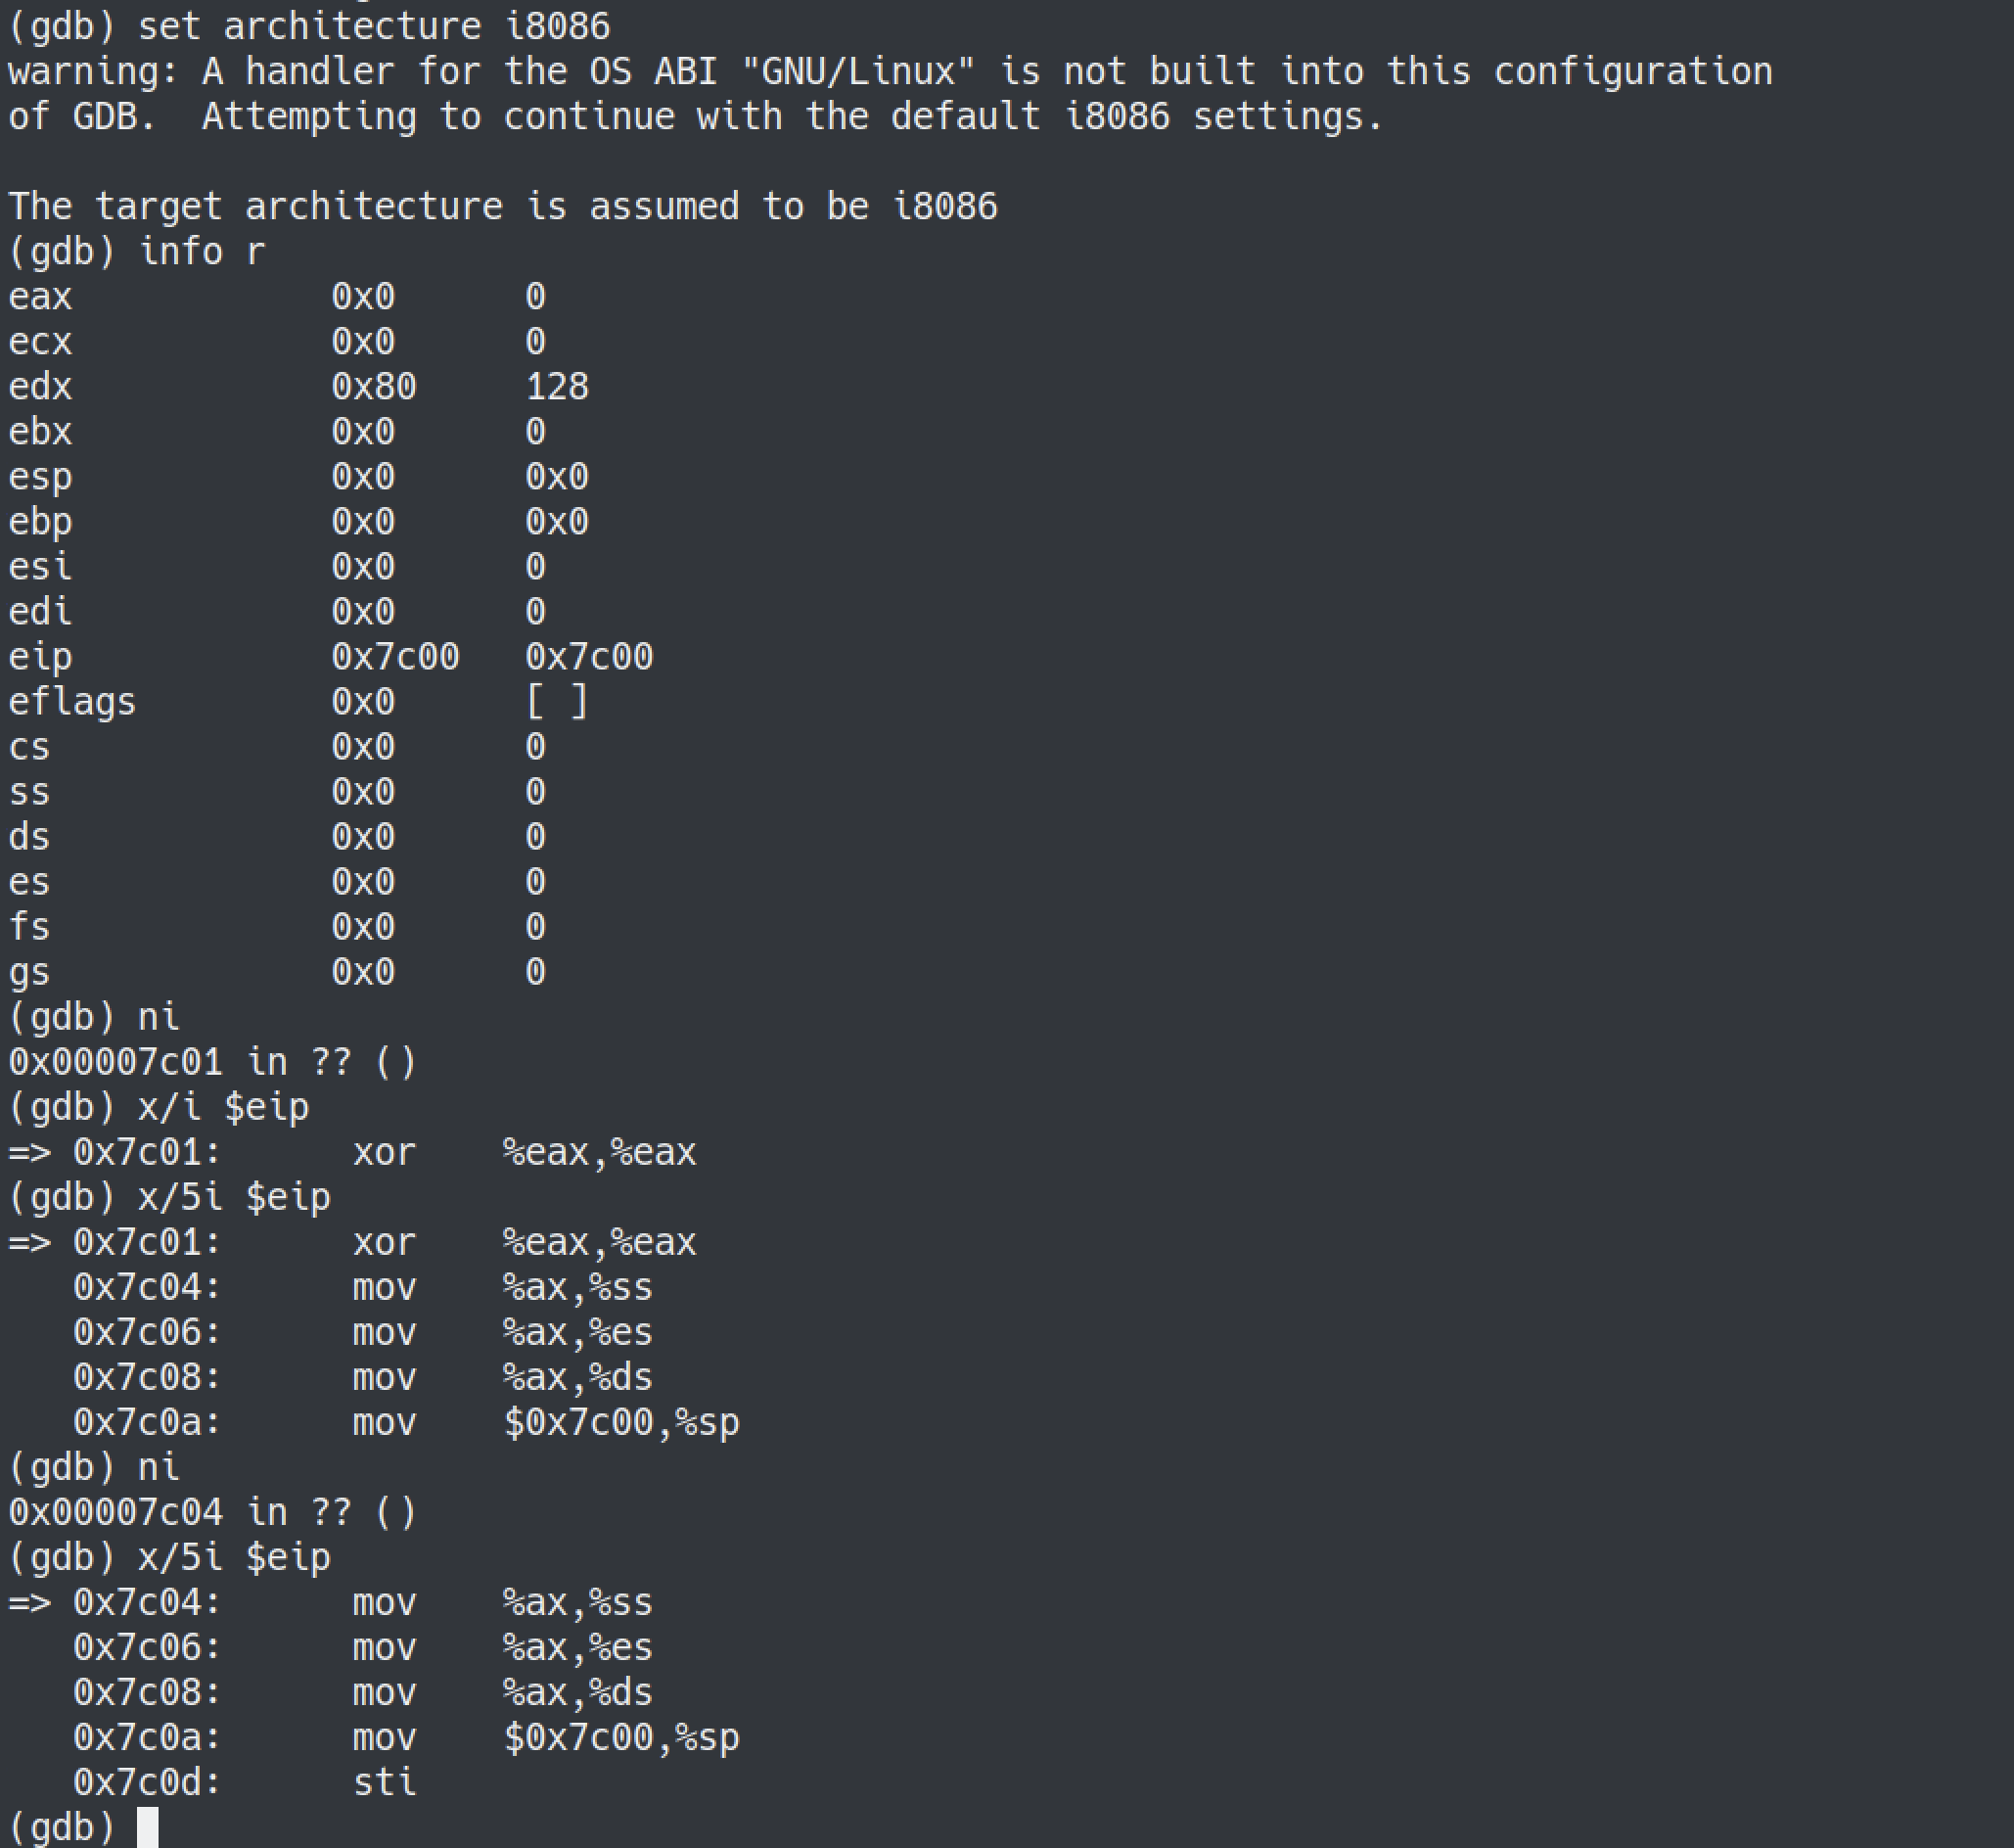
对于 arch 层,我们可以假设 CPU 是
8086,它设置起来比较简单,只需要设置好寄存器即可。
COM 文件就只是一个内存镜像,没有任何文件头。因此 loader
层的实现极其简单:分配足够的内存,把整个文件写入到内存,设置好 PC
和栈即可。
对于 os 层,麒麟要做的事情就是尽可能多的实现中断。下面是
HI.COM 的源代码:
1
2
3
4
5
6
7
mov ah,9 mov dx, 10d int 21 mov ax, 4c00 int 21 nop db "Hello world!$"
当 Unicorn 执行到 INT 21
的时候,它并不知道这个中断的具体含义,因此它会调用我们在 os
层中定义的 hook 函数,下面就是 os 层相应的实现:
1 2 3 4 5 6 7 8 9
defint21(self): # Handler for INT 21 ah = self.ql.reg.ah if ah == 0x4C: self.ql.uc.emu_stop() # Stop emulation # other interrupts... elif ah == 0x9: s = self.read_dos_string_from_ds_dx() # Read string self.ql.nprint(s) # Print the string to console # other interrupts...
defint10(self): # BIOS video support # https://en.wikipedia.org/wiki/INT_10H # https://stanislavs.org/helppc/idx_interrupt.html # implemented by curses ah = self.ql.reg.ah al = self.ql.reg.al if ah==0: # time to set up curses # copied from curses.wrapper self.stdscr = curses.initscr() curses.noecho() curses.cbreak() self.stdscr.keypad(1) try: curses.start_color() except: pass if al == 0or al == 1: curses.resizeterm(25, 40) elif al == 2or al == 3: curses.resizeterm(25, 80) elif al == 4or al == 5or al == 9or al == 0xDor al == 0x13: curses.resizeterm(200, 320) elif al == 6: curses.resizeterm(200, 640) elif al == 8: curses.resizeterm(200, 160) elif al == 0xAor al == 0xE: curses.resizeterm(200, 640) elif al == 0xF: curses.resizeterm(350, 640) elif al == 0x10: curses.resizeterm(350, 640) elif al == 0x11or al == 0x12: curses.resizeterm(480, 640) else: self.ql.nprint("Exception: int 10h syscall Not Found, al: %s" % hex(al)) raise NotImplementedError() # Quoted from https://linux.die.net/man/3/resizeterm # # If ncurses is configured to supply its own SIGWINCH handler, # the resizeterm function ungetch's a KEY_RESIZE which will be # read on the next call to getch. ch = self._get_ch_non_blocking() if ch == curses.KEY_RESIZE: self.ql.nprint(f"[!] You term has been resized!") elif ch != -1: curses.ungetch(ch) self.stdscr.scrollok(True) ifnot curses.has_colors(): self.ql.nprint(f"[!] Warning: your terminal doesn't support colors, content might not be displayed correctly.") # https://en.wikipedia.org/wiki/BIOS_color_attributes # blink support? if curses.has_colors(): for fg inrange(16): for bg inrange(16): color_pair_index = 16*fg + bg + 1 if fg notinself.color_pairs: self.color_pairs[fg] = {} curses.init_pair(color_pair_index, COLORS_MAPPING[fg], COLORS_MAPPING[bg]) color_pair = curses.color_pair(color_pair_index) self.color_pairs[fg][bg] = color_pair self.revese_color_pairs[color_pair] = (fg, bg)
英文有句名言是 "Simple is
better"。现在,相比以前的屏幕,终端已经变得越来越复杂了,结果实现一个简单的屏幕反而变得更难了,因为有太多的
corner cases。
模拟侧重点的区别
有心的读者可能已经注意到了,我们这里的模拟其实和真正的 DOS
系统行为并不完全一样。没错,麒麟的模拟就是这样的。完美和快速的模拟从来不是麒麟的首要目标。麒麟关注的是为用户在二进制分析时提供最大的便利。我马上会谈到这一点。
顺带一提,麒麟从设计之初就是平台独立的。这意味着用户可以在 Windows
上运行一个 Linux ELF,在 Mac OS 上运行一个 Windows exe。然而对于 QEMU
来说这是不可能的,因为它需要把系统调用转发到主机上。
#!/usr/bin/env python3 # Source: https://github.com/qilingframework/qiling/blob/dev/examples/hello_x86_linux_fake_urandom.py # # Cross Platform and Multi Architecture Advanced Binary Emulation Framework # Built on top of Unicorn emulator (www.unicorn-engine.org)
from qiling import * from qiling.os.mapper import QlFsMappedObject
classFake_urandom(QlFsMappedObject):
defread(self, size): returnb"\x01"# fixed value for reading /dev/urandom
deffstat(self): # syscall fstat will ignore it if return -1 return -1
#!/usr/bin/env python3 # Source: https://github.com/qilingframework/qiling/blob/dev/examples/petya_8086_mbr.py # # Cross Platform and Multi Architecture Advanced Binary Emulation Framework # Built on top of Unicorn emulator (www.unicorn-engine.org)
import sys sys.path.append("..") from qiling import * from qiling.os.disk import QlDisk
if __name__ == "__main__": ql = Qiling(["rootfs/8086/petya/mbr.bin"], "rootfs/8086", console=False, output="debug", log_dir=".") # Note: # This image is only intended for PoC since the core petya code resides in the # specific sectors of a harddisk. It doesn't contain any data, either encryted # or unencrypted.